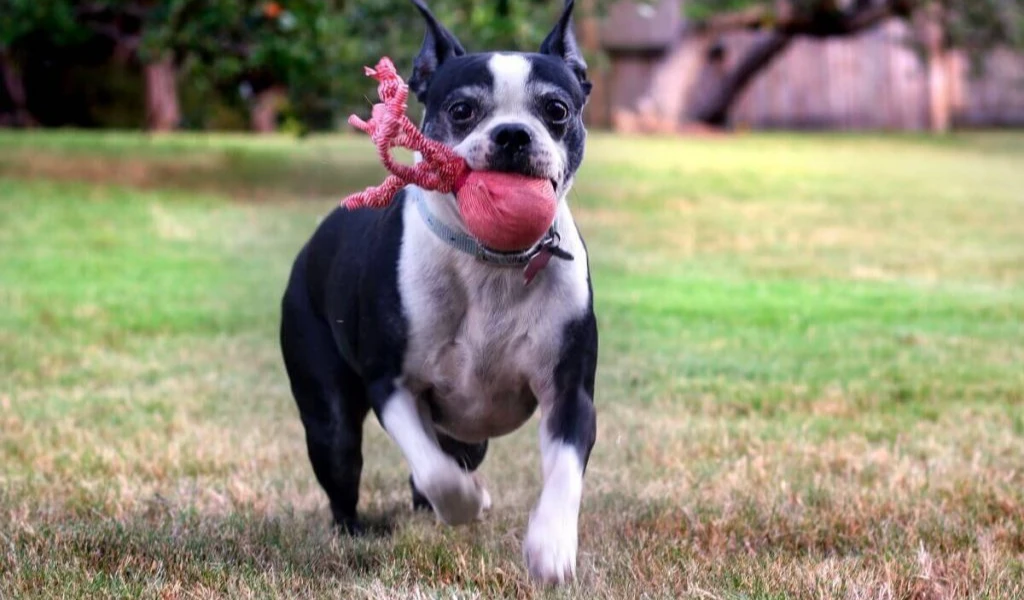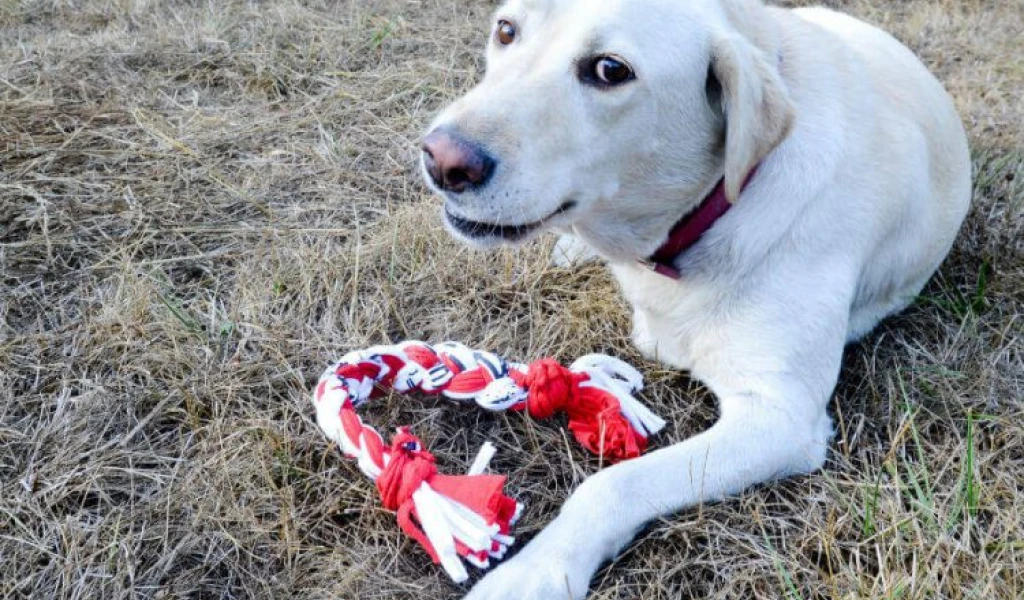
Recycle old Custom T-shirts by turning them into a fun DIY T-shirt dog toy. This simple project is perfect for novice sewers and can be done in the afternoon.
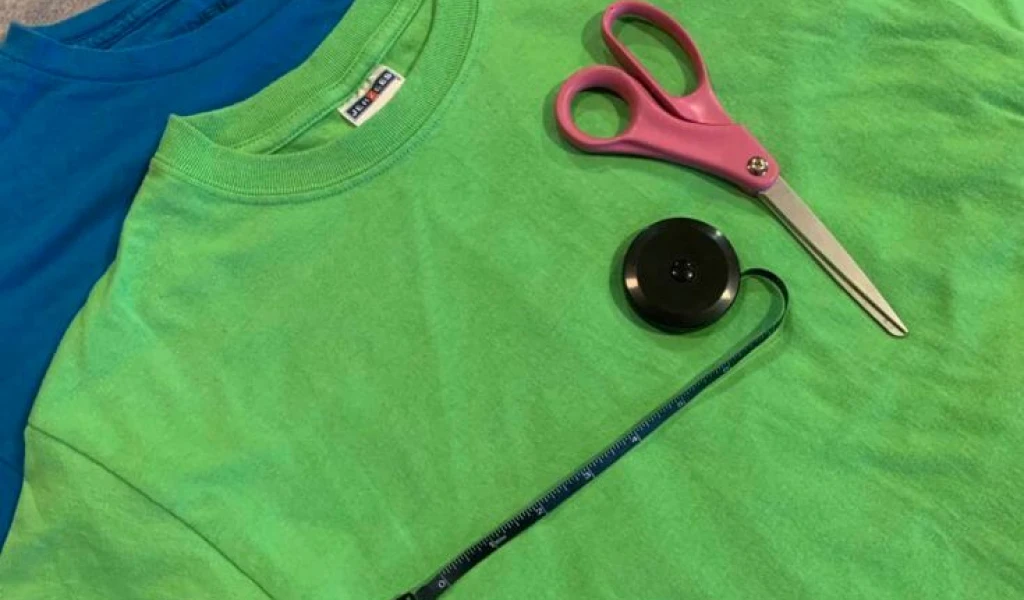
- Materials needed: Old or discarded T-shirts, scissors, a ruler or measuring tape, and a tennis or squeaker ball.
- Learn how to make three different types of DIY T-shirt dog toys and give your pup a soft, colorful chew toy to play with.
- You’ll love knowing that you made the toy yourself and your pup will love playing with it.
- Create a small teething toy for your puppy by cutting short T-shirt strips.
- Start by arranging the shirt on a flat surface and make small 1 to 2-inch slits through the bottom seam every 1 to 3 inches using your measuring tape and scissors, depending on how thick you want the fabric strips to be.
- Gently pull or cut each strip upward towards the top of the garment, ending just before the armpit. As a result, your garment will appear to have lengthy fringe or tassels. After that, pull each strip gently so the cut edges curl over, then trim them from the top of the shirt.
- To construct ties for your toy, cut approximately 2 inches of the cuff or seam end off each sleeve, then cut the circle of cloth into a short strip. You’ll need two ties (one shirt) for each toy you intend to make.
- Repeat the previous steps until you have gathered strips of cloth in all of the colors you choose. Depending on how many t-shirts you start with, you may have excess fabric strips.
Steps to Make A Rope-Style Tug T-shirt Dog Toy from Old Custom T-shirts

- Cut the neck and sleeve portions away from the body of the printed Custom T-shirt, leaving a tube of fabric. Cut off the ends of the sleeves to create ties.
- Cut or rip the fabric into strips towards the opposite seam, creating loops of fabric resembling fringe that is connected together at the shirt’s uncut seam end.
- Gently pull the loops to curl the edges under, then clip each loop from the seam and cut it into long strips. Braid these strips into a long tug toy.
- To assemble the toy, bundle your short or long fabric strips together, tie them a few inches from the end with a fabric sleeve piece, double-knot to secure, separate the bundled strips into three equal portions, and tightly braid them together, stopping a few inches from the end.
- Tie and knot the braid’s end with another short fabric piece, trim the tassels and you are done. One teething or tug toy is ready for use!
- Optional: Tie the loose ends into a large knot over the sleeve strip before trimming the tassels for a more stable and lasting tugger!
Steps to Make a DIY Braided Ball Tugger from your old Custom T-shirt

- Create a braided ball tugger by cutting a Custom T-shirt into a tube of fabric, just below the arms, with scissors. Cut a loop approximately 1.5 inches from the bottom seam of the tube and cut one end to create a long, thin strip of cloth to use as ties.
- Cut the remaining tube of fabric in half horizontally, creating two equal-sized tubes approximately 5 to 6 inches wide. Cut each tube along one side to get two equal-sized cloth rectangles.
- Arrange the rectangles in an X configuration on the table, with their centers overlapping. Place the ball in the middle of the X, and wrap the cloth around the ball to completely surround it. Hold the ball and fabric bundle in place and fasten it with a piece of fabric.
- Using scissors, cut each of the four fabric rectangles lengthwise into three smaller strips. Give them a pull to curl the edges over and braid them together to form four pulling arms.
- Tie a piece of cloth to the end of each “arm” braid to secure it, then remove the excess.
Visit Same Day Custom to see a wide variety of customized t-shirts available for purchase. Our site offers a variety of options and designs to choose from, perfect for any event or occasion. Shop now to find the perfect Custom T-shirt nearby for you!


One Response
Great ideas, Thanks!